DL1 Enclosure

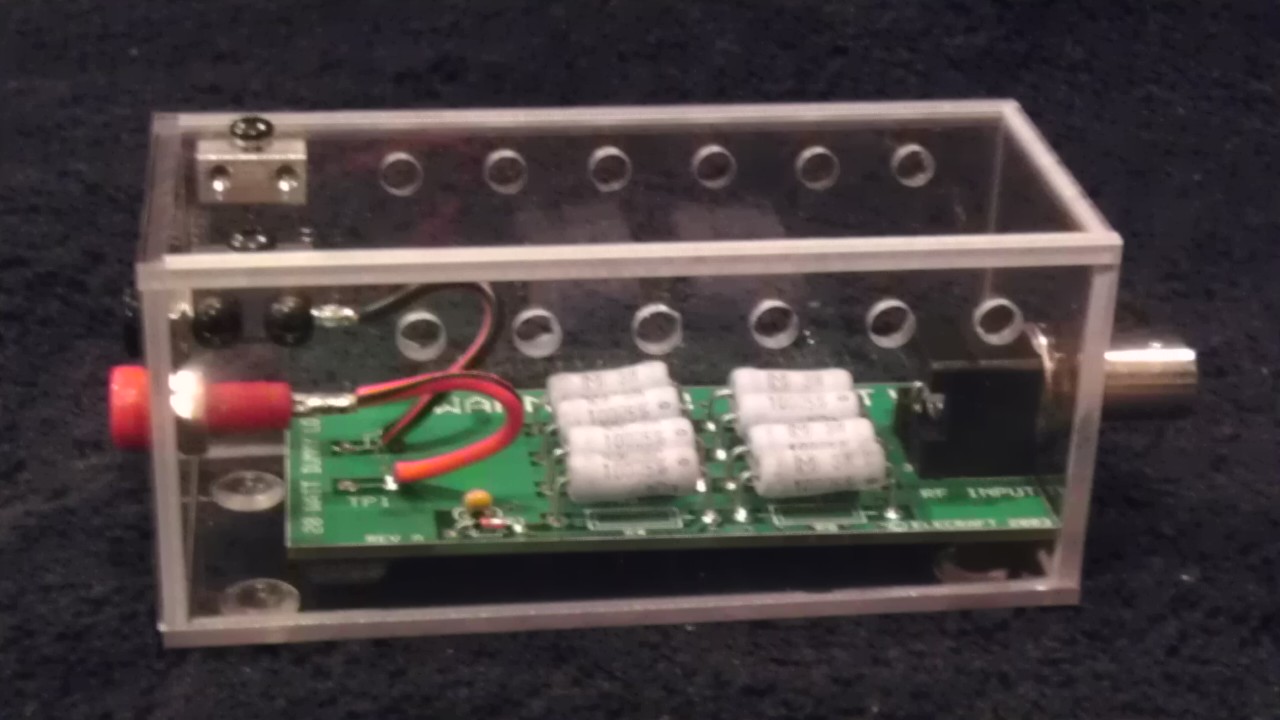
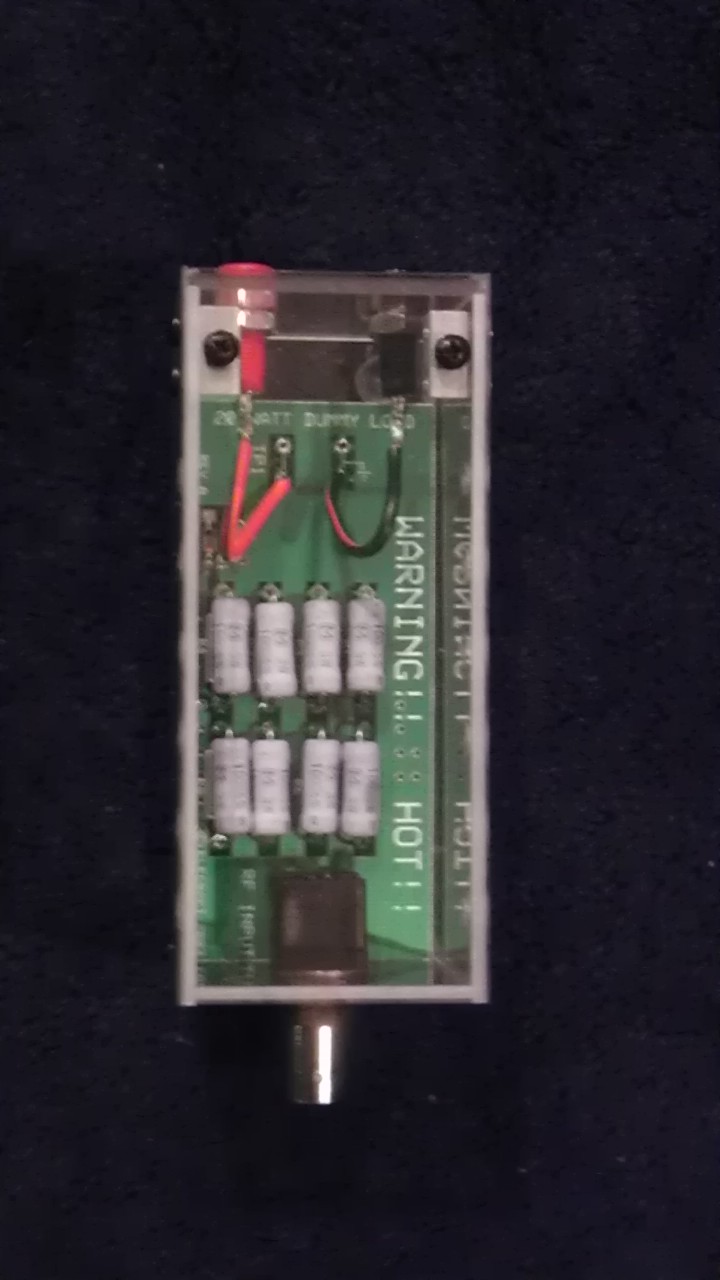
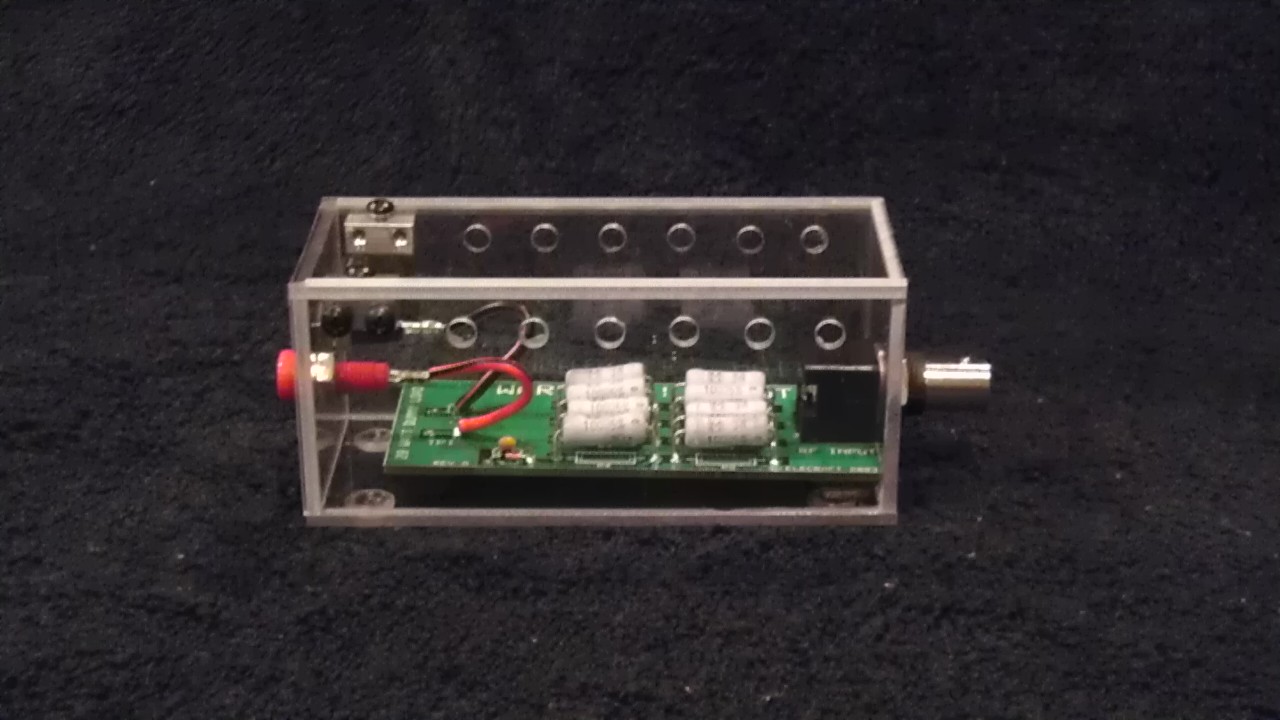
The DL1 enclosure was designed to house the DL1 as built per the Elecraft instructions, with the rubber feet mounted on the bottom of the PCB. The DL1 board is secured to the bottom of the enclosure and front panel via a supplied hex nut and lock washer. The top of the enclosure is secured to the bottom via an Elecraft 2-D fastener at the rear of the enclosure and underneath the DL1 board (the board sits on top of the 2-D fastener and is slightly elevated at the rear).

The board is secured to the enclosure via the hex nut on the BNC connector on the front.

1/8" vent holes are drilled in the sides to allow horizontal ventilation. Again, for field use, it should keep most things out. There are also 4 plastic feet on the bottom that grip solid surfaces very well.
TP1 Upgrade
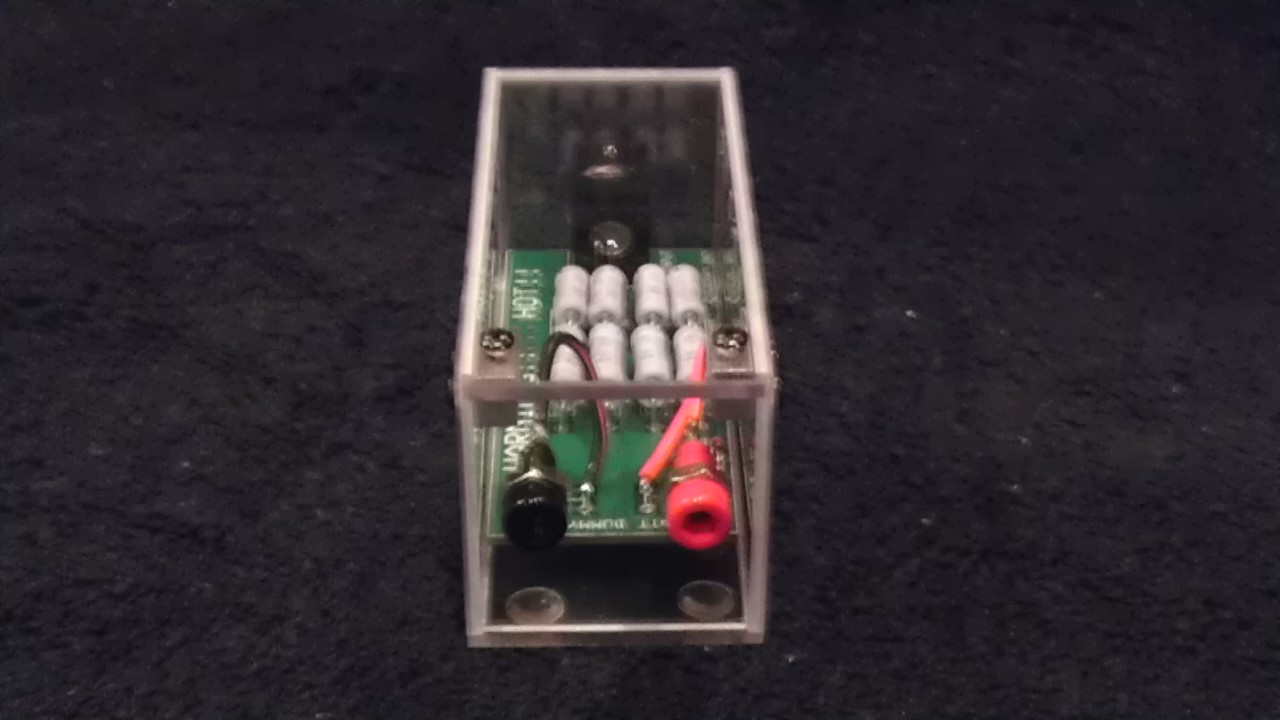
An upgrade to externalize the TP1 connections may now be purchased. The upgrade includes bringing the TP1 and associated ground connections to tip sockets mounted to the rear of the enclosure. Also included are the hookup wires to the DL1 PCB and the mating tip plugs so that you can make up a cable if desired. The following pictures demonstrate the upgrade.
installation instructions
Remove the thumbscrews and washers from the rear of the BL2 board.
Simply slide the BL2 board into the bottom of the enclosure and secure to the rear of the enclosure with the thumbscrews and washers.
Place the BNC connector through the mounting hole on the top/front panel and secure with the BNC connector with the provided hex nut and lock washer.